Craft Project for those with little time and little skill
I spend a certain percentage of my time drooling over err, reading through craft blogs and thinking “ooh my daughter would love it if I made this”. Most of these projects are absolutely gorgeous with beautiful fabrics or patterned paper, tasteful embellishments and highly skilled craftmanship and finishing (and no doubt I will link to some of these in the future).
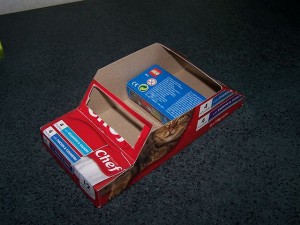
However, if you’re like me and have days where you feel like your art skills plateaued at the age of 7, then you’ll love what I just made – the 5-minute toy car! Of course if you have a child around the age of 7 (probably younger would work) then they could easily do this themselves.
For this project you’ll need:
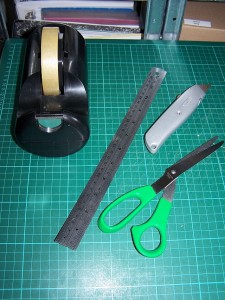
a pair of scissors
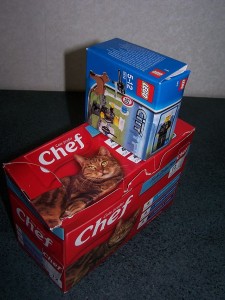
a box of an appropriate, and if you’re lucky another smaller box that’ll fit well inside
sellotape
maybe a sharpie/vivid
and if you want to get all fancy
a blunt craftknife
a cutting matt
a ruler (don’t worry – no measuring involved)
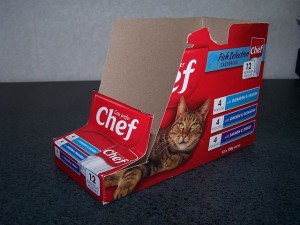
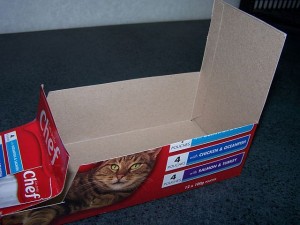
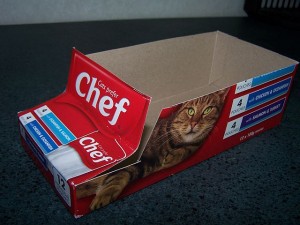
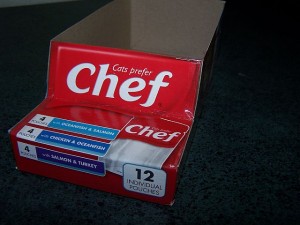
You’re really lucky today as I certainly wasn’t expecting this to work and didn’t plan to take before shots, but I managed to find another two boxes of the same sizes (Mental Note: Do recycling tomorrow) so I can make another car just for you.
In case the design looks more complex than it is. Here’s how I did this:
1. Put the small box aside for later. Cut down the front corners of the big box until you have the bonnet height left attached to the bottom. Bend in the flap, bend it back further up to make the bonnet and then work out where the top of the windscreen is and cut across.
2. Work out what angle you want the windscreen to have and then you can cut the sides of the box to reflect the shape of the bonnet and windscreen. Cut the lid off the box since you’ve got the scissors handy.
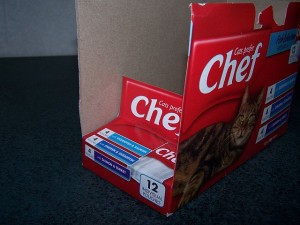
3. Okay, you can cut along the top of the windshield to the back of the box but don’t cut the back side of the box. Instead once you’ve done this, cut down the corners to meet the cuts along the top. Okay I haven’t explained this well so have another picture.
4. Now you can cheat and cut that back flap off and Voila! a stationwagon/hum vee/ stretch people mover :P OR you can create a boot/trunk like you did with the bonnet, or a hatchback scenario like I did with the first car. I’m going to be lazy and make a station wagon.
5. Okay, this is where, if you want to get fancy you’d cut out the windscreen. My knife blade needs replacing so I’m not going to demonstrate how to butcher it. How I did it was by just eyeballing where it should be cut out and using the ruler to make straight lines – but no measuring okay … we don’t want to get all anal about this! :P
6. Okay so now we need to sellotape the bonnet and windshield to the car. Which ends up looking like this.
Bet you were surprised at that result!
7. Okay now our other box comes into play. Eyeball how high you want the seats in your car and then cut along the sides of the box so you have a little tray to invert and place inside the car. I nicked a corner after working out how high and then went for it with the scissors. And yes the result was a little untidy. As you would have seen at the beginning my little box had been opened and so to make a second seat I had to get crazy with the sellotape.
8. Since I skimped on all the details I’m going to make a hash of things and attempt to add details by using a vivid/sharpie. Fingers crossed this comes out okay.
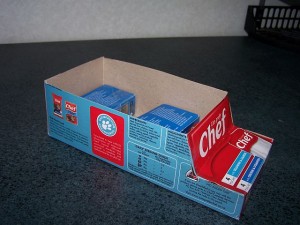
Before:
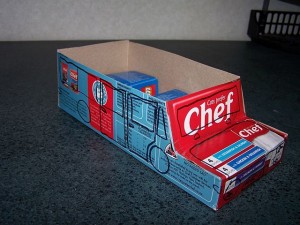
After:
And we’re done. As you can see, my stationwagon has had the suspension lowered, on the other side one door opens both ways, and in general I’m the first to admit, it’s a rather unique design.
The brilliant part of this is you won’t get too upset if someone accidentally squashes it, it gets left outside, the cat uses it for killing practise etc. And it can still go in the recycling when it’s no longer wanted.
Nothing stopping you or your kids from decorating it. And of course you could go all out with paint; in which case it’ll need to be sanded and given a couple of primer coats, then a couple of coats of your base colour and then the final coats to give it that sparkle and shiny effect. I might be wrong but there’s possibly also a clear layer added last. :P
Anyway, hope you enjoyed this 5 minute toy car tutorial – I had fun making it and making fun of myself! :)
